I wear many hats, including: Paramedic 🩺, Author 📚, Podcast Host 📺, Tech Entrepreneur 👨💻, Dog Dad 🐕, Travel Blogger 🌎, and Helicopter Pilot 🚁.
- Steven

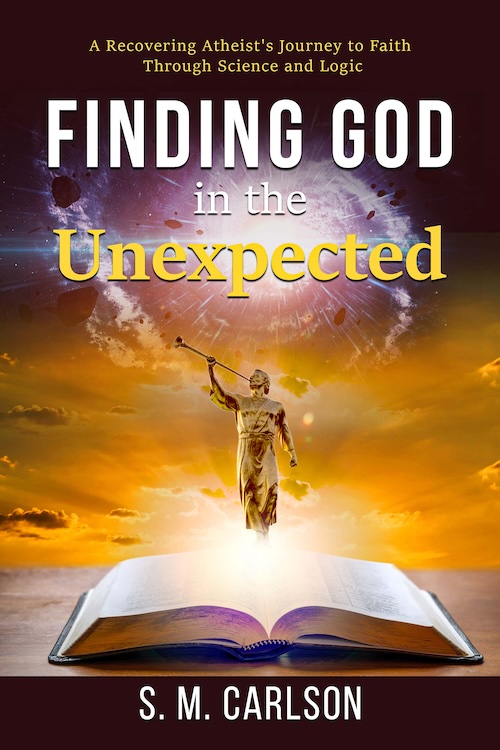
Step into my shoes and experience 'Finding God in the Unexpected.' As a man deeply rooted in scientific understanding, I once believed the realms of faith and reason were worlds apart.
Yet, as I navigated life's complexities, I began to see their intricate dance, revealing a harmonious union where both can coexist. This isn't merely a chronicle of my spiritual awakening but an intimate reflection on how tangible evidence and deep-seated faith can meld into a beautifully coherent worldview. Whether you resonate more with skepticism or belief, my personal odyssey promises not only to challenge but to resonate deeply, evoking a sense of wonder.
Embark on this journey with me, and together, let's explore a universe where science and faith illuminate the profound tapestry of existence.
"Finding God in the Unexpected" is available in
paperback,
Kindle eBook,
hardcover,
and Audible audio book
formats.
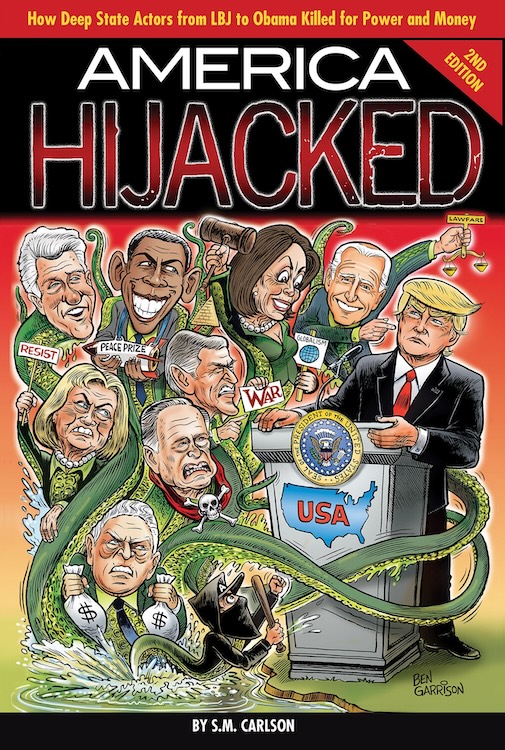
Second Edition: Updated to include Trump re-election, Biden Administration, 2022 War in Ukraine, Green New Deal, and more!
Delve into "America Hijacked," a critical and expansive exploration spanning the past 80 years of US political history. This compelling narrative embarks on a journey from the conflicts of Vietnam and Korea, traversing through the tumultuous wars in the Middle East, unearthing the layers of deception and criminal corruption interwoven within the legacies of the Bush, Clinton, and Biden families.
"America Hijacked" illuminates the insidious destruction of the American Dream, as it outlines the substantial gains and profiteering of political dynasties amid national despair and global conflict. The text is composed in a clear and concise style, making it an accessible and engaging read for all, shedding light on the obscured truths of political maneuvers and the profound impact on the American narrative.
Make a foray into this significant exploration and unravel the intricate web that has ensnared the American political landscape.
"America Hijacked" is available in
paperback,
Kindle eBook,
hardcover,
and Audible audio book
formats. It offers a seamless reading experience for all who seek to understand the depths of political corruption and its enduring implications for the United States.
From the acclaimed author of "Finding God in the Unexpected," S. M. Carlson returns with "The Jesus Dilemma: Faith, History, and Mythology," a riveting exploration into the complex narratives surrounding Jesus Christ. This book weaves through the historical evidence, theological debate, and mythological tales to present a nuanced perspective on one of history's most scrutinized figures. Leveraging his journey from skepticism to belief, Carlson invites readers to delve into the questions that have puzzled scholars and faithful alike for centuries.
"The Jesus Dilemma" is more than a book; it's an invitation to journey through the corridors of time, examining the life and legacy of Jesus with fresh eyes. Whether you're a devout believer, a curious skeptic, or somewhere in between, Carlson's thoughtful analysis and personal insights offer a compelling case for the profound impact of Jesus's story on history and humanity. Prepare to be challenged, enlightened, and inspired as you uncover the layers of faith, history, and mythology with "The Jesus Dilemma."
"The Jesus Dilemma is available for
Kindle eBook Pre-Order.

Have a suggestion for an interview or video?
The Carlson Organization, Inc.
18 2nd Street
Luray, VA 22835
S. M. Carlson